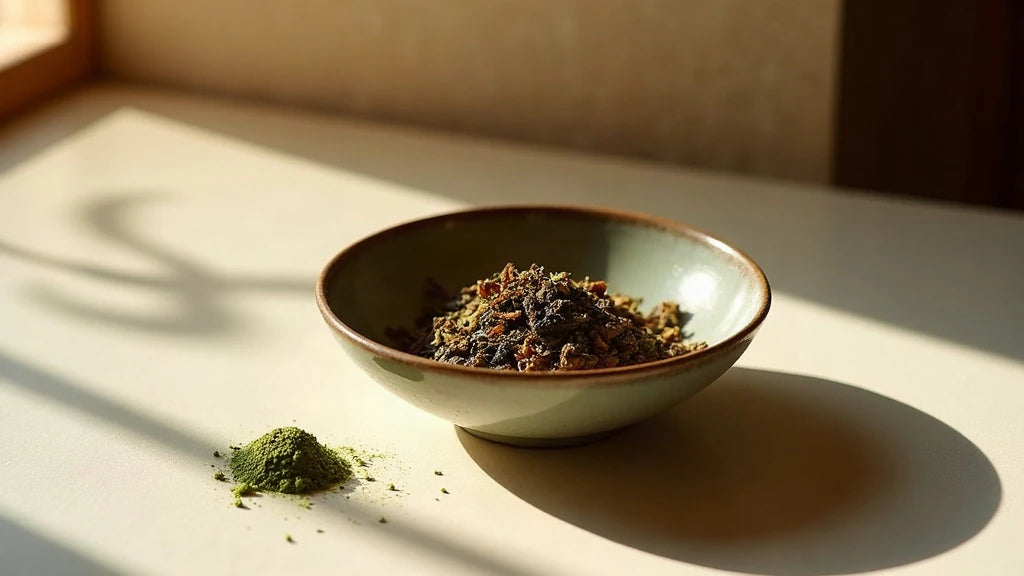
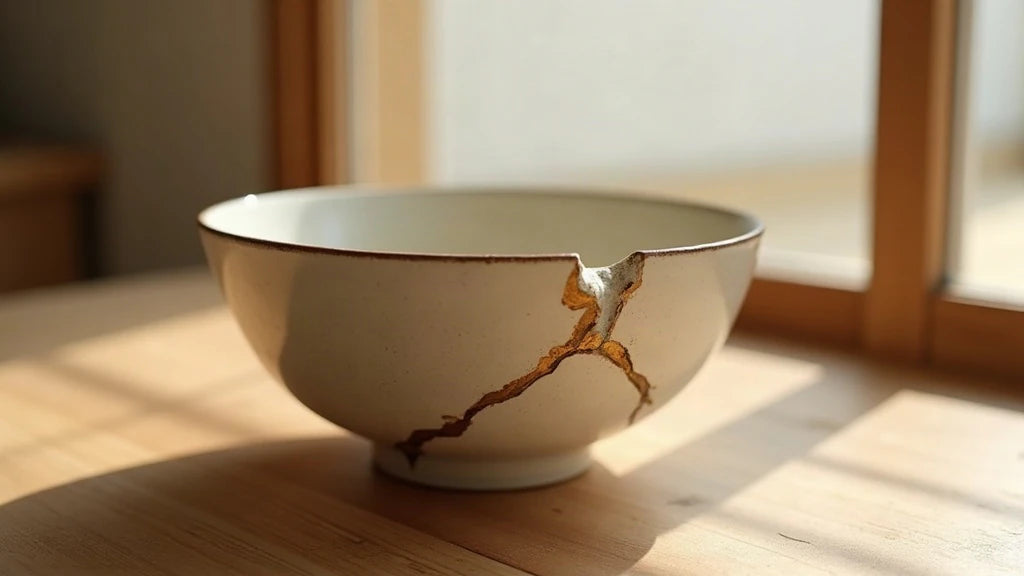
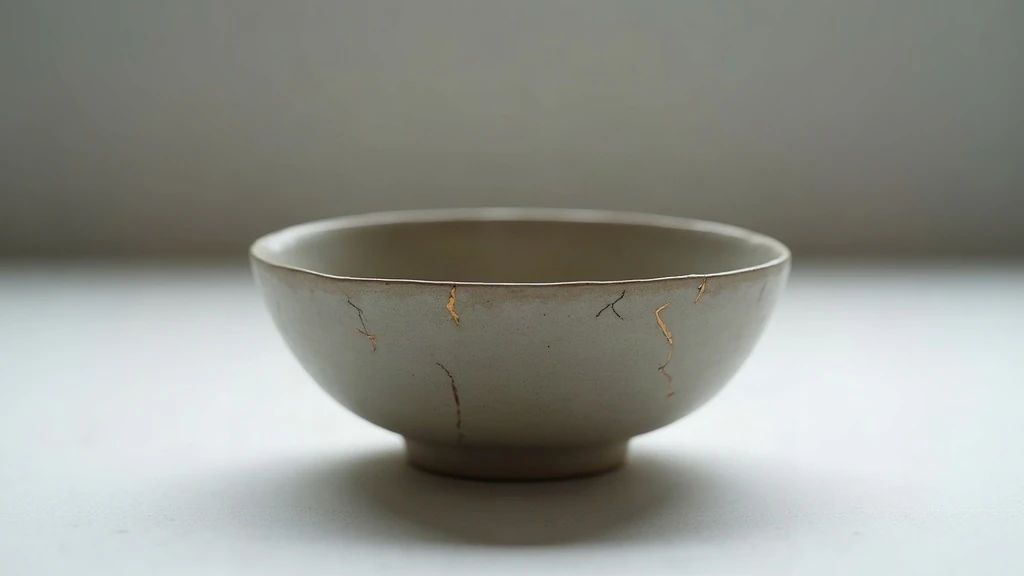
A friend once handed me a tea cup with a gold line running across its side. I assumed it was a decoration. It was a repair. Kintsugi is the Japanese practice of mending broken ceramics with lacquer and powdered metal, so the joint runs across the piece as a visible gold line instead of being hidden. The bowl is not restored to looking new. The break becomes part of what you see and handle. It is a craft about keeping an object in use, not a charm or a promise of good fortune.
Key points
- Kintsugi joins broken ceramic with urushi lacquer, then dusts the seam with gold, silver or brass so the repair stays visible.
- A real repair is slow, since lacquer cures over weeks rather than minutes, and it is done by hand, piece by piece.
- The point is continuity: the bowl keeps being used, and the crack becomes part of its history rather than a flaw to erase.
- Thick, handmade stoneware mends more readily than thin glazed porcelain, and a mended piece needs gentle hand-washing.
What is kintsugi? A broken bowl, mended in gold
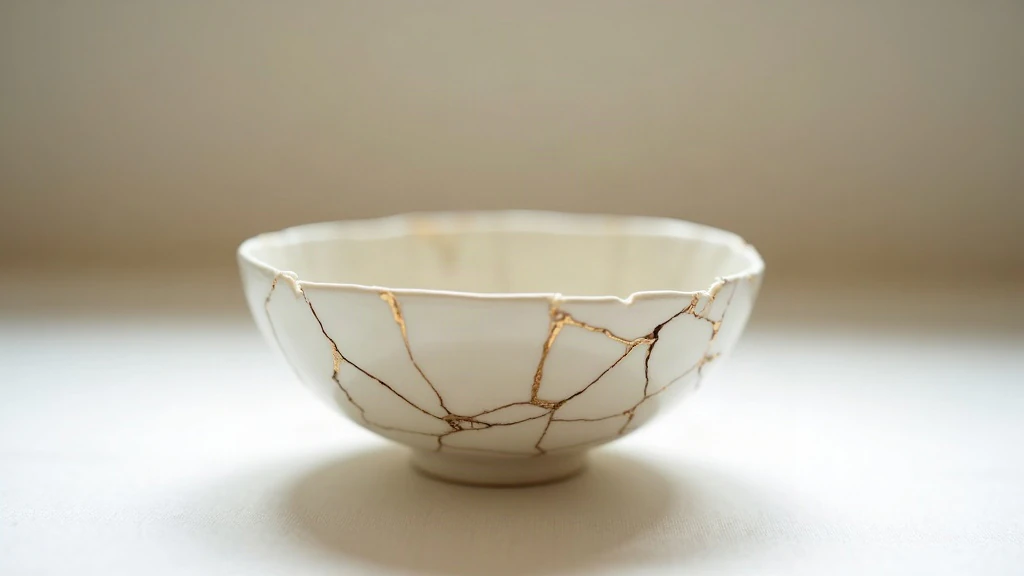
The word joins kin (gold) and tsugi (joinery). A restorer takes the fragments of a dropped bowl, rebuilds it, and marks every seam in metal. Most repair traditions aim at invisibility. Kintsugi does the opposite: the seam is the finished surface, filled and then deliberately lit up. A hairline crack becomes a thin gold thread. A clean break into four pieces becomes a branching line you can trace with a fingertip. You are meant to notice where it broke.
Urushi lacquer and metal powder, not epoxy
The adhesive is urushi lacquer, sap from the Toxicodendron vernicifluum tree, used in Japan for centuries on bowls, trays and boxes. It is mixed with rice paste, clay powder or wood flour depending on the job. The metal is applied as loose powder: gold, silver, or brass. Related techniques, such as maki-e, use the same powder-on-wet-lacquer gesture for decorative patterns. What kintsugi is not: instant glue with a gold marker over it. Nothing about a mended bowl promises you anything.
The cups, bowls and plates that usually get mended
Restorers mostly see everyday things: tea cups, rice bowls, a single plate from a set that no longer matches. Thick, hand-thrown stoneware dominates, because it breaks into fewer, blunter pieces that sit back together. A heavy stoneware cup like the ceramic tea cup I keep by the kettle is exactly the kind of piece I would bother to repair: the wall is thick enough to hold lacquer, and the shape is one I use every morning. Porcelain gets repaired too, but thin, vitrified walls shatter into slivers, and the glossy surface gives lacquer less to grip.

How to say kintsugi, and whether kintsukuroi means the same thing
Say it kin-tsu-gi. Three beats of equal length. No stress on the first syllable, which is the habit most English speakers bring to it. The tsu is one sound, not two: the t and the s land together, close to the end of "cats" followed by a short "oo". The g is hard, as in "give", never soft like "giraffe". And there is no plural. Five mended bowls on a shelf are still kintsugi, not "kintsugis".
The word is built from two parts. Kin means gold. Tsugi comes from joining, the same idea used for joinery in wood. Put together: golden joinery. The name describes the seam, not the break.
You will also see kintsukuroi. Same kin. But tsukuroi points to the act of mending or patching something back into use. The two words name the same practice. Kintsugi is the common form, the one you will hear in a shop or read on a label. Kintsukuroi turns up less often and sounds more technical, a little more formal.
They are not two different techniques. That idea circulates widely, usually with kintsukuroi described as some older or purer method. There is no separate method. Same lacquer, same gold, same seam.
Two more words are worth holding onto before the next part of this article. Urushi is the lacquer, tapped as sap from a tree, used both as the adhesive that holds the pieces and as the binder that carries the metal powder. Gintsugi is the same repair finished in silver powder instead of gold. The seam reads cooler and greyer, and sits more quietly against a dark glaze.
Where gold repair comes from: a shogun's tea bowl and the tea room
The origin usually given for kintsugi is a story, not a dated record. It runs like this. In the fifteenth century, during the Muromachi period, the shogun Ashikaga Yoshimasa broke a favourite tea bowl. He sent it back to China for repair. It returned held together with metal staples, small bent cramps driven into drilled holes on either side of the break. The repair worked. It also looked like hardware on a bowl meant to be cradled in two hands. Japanese craftsmen then looked for a finish better matched to the object, and worked with lacquer loaded with gold powder.
Treat that as the story told about its origin. Several pages present it as settled history. The staple technique is real and documented on old ceramics. The shogun's bowl is the part that has been passed down rather than proven.
The context that explains the practice is the tea room. In chanoyu, the Japanese tea ceremony, a bowl is not set down and looked at from across a table. It is lifted, turned a quarter turn in the palm, held at chest height, set on tatami, picked up again. Your fingers find the foot ring, the glaze pooling near the base, the slight wobble where the clay was pulled off centre. A worn or uneven surface carries value in that setting. A mended seam reads as one more thing the hand learns.
Gold repair spread because tea bowls are tracked objects. They are given names. They are recorded in tea diaries, stored in fitted paulownia boxes with the owner's inscription on the lid, and handed down. Marking what happened to a bowl makes sense when the bowl already has a written life. A staple hides nothing but says nothing either. A gold seam states the date of a break in the object's own history.
One anecdote circulates in collecting circles. Certain pieces became more sought after after breaking and being mended, enough that some people suspected bowls were being broken on purpose. Take it as an anecdote about a small market, not a rule about how the repair was used.
The steps described next come straight out of that lacquer work: urushi to join, urushi to fill, urushi to dress the line, and gold only at the end.
Gold-mending a broken bowl, step by step
The process explains the price. There is no step you can rush, because the material sets on its own schedule.
Fitting the broken ceramic pieces dry, before any lacquer
Work starts with a puzzle. Every fragment of the broken ceramic is cleaned, dried and laid out, then fitted dry to find the order of assembly. Some joins have to close before others, or a piece gets locked out.
Urushi lacquer and the weeks of curing
Lacquer is applied in thin coats. It does not dry by evaporation; it polymerises, and it needs humidity and moderate warmth to do it. Pieces go into a damp cabinet for days between coats. Gaps are filled, sanded back, filled again. A simple two-piece break might take three or four weeks. A bowl in eight fragments with missing chips runs to several months.
Dusting the seam with gold, silver or brass
The last coat is where the line appears. While lacquer is still tacky, gold powder is dusted onto it with a soft brush, then burnished once cured. Consumer kits sold online usually swap urushi for epoxy or synthetic resin and brass-coloured mica powder. They copy the look and are fine for a decorative piece, but most are not food safe.
What a gold repair is actually made of: lacquer, filler, and metal powder
A gold repair is three things stacked: an adhesive, a filler, and a metal powder held in a thin coat of lacquer. The gold you see is a dusting on the surface, not the glue underneath. Once you know which layer does what, the shopping question answers itself.
The traditional route: urushi
Urushi is sap lacquer, tapped from the Toxicodendron vernicifluum tree. It does not dry by evaporation. It cures by absorbing moisture, so a repair sits in a humid box for days or weeks rather than setting in minutes. That slowness is the whole method.
From one tube of urushi you make several different materials:
- Mugi-urushi: urushi kneaded with wheat flour and a little water. This is the adhesive. It bonds two clean ceramic edges.
- Sabi-urushi: urushi loaded with tonoko or jinoko, powdered stone and clay. This is the filler, for a missing chip or a gap where a fragment is gone.
- Finish coat: plain urushi, red or black, brushed in a thin line. The powder is dusted onto this coat while it is still tacky.
Gold powder comes in two grains, and shops label them clearly. Keshifun is the fine one. It gives a matte, quiet line, close in width to the crack itself. Marufun is coarser and brighter, it needs burnishing afterward, and it costs several times more by weight. Silver and platinum powders are sold the same way and behave the same way on the lacquer. Silver darkens over years of handling, which some people want.
The modern route: two-part epoxy kits
Most boxed kits hold a two-part epoxy and a jar of gold powder or mica. You mix the resin and hardener, stir in the powder or dust it on, and the join sets in hours instead of weeks. The line looks the part. The bond holds for a shelf piece or a dry bowl.
Be clear about the limits. Epoxy is not food safe unless the maker states it on the packaging, so a mended rice bowl becomes a display object. Hot water and dishwasher cycles soften the join over time. Clear resin can yellow, which shifts a pale gold toward brass.
What to leave on the shelf
Cyanoacrylate, sold as super glue, makes a hard, brittle seam with no give. It fails under impact and it cannot be reopened. Solvent will not release it cleanly, so a later proper repair becomes impossible. One tube can close a bowl permanently to any better work.
Two practical notes. Uncured urushi irritates skin in many people, since the tree sits in the same botanical family as poison ivy and poison sumac. Work in nitrile gloves, in a ventilated room, and keep it off your forearms. And cheap gold powder is usually brass or coloured mica rather than gold. That is fine, as long as the seller says so on the listing.
Trying it yourself on a broken bowl
Start with a piece you do not care about. A plain stoneware rice bowl, broken into two or three pieces, with clean edges that still fit together. That is the right first subject. If a bowl shattered into eight shards or crumbled along the break, set it aside. I keep a shelf of my own failures as proof: the first bowl I mended at the kitchen table has a gold line almost 4 mm wide, because I kept going back to tidy it. Each retouch thickened it. The line stopped describing the break and became a stripe.
The second mistake was the opposite of restraint. On a small sake cup I powdered every seam, then the hairlines branching off them. The gold took over the shape. You could no longer read the cup, only the repair. Kintsugi marks a break. It does not redecorate the object.
So my rule is simple. Two practice pieces before you touch anything you would be sad to lose.
What a consumer kit holds, and the order of work
Most beginner kits sold for home use contain the same five things: a two-part resin adhesive, a jar of brass or mica powder in gold, silver or bronze tone, a small spatula, a fine brush, and disposable gloves. Some add a wooden stick and a mixing card. None of these are food safe, and no kit I have used claims to be.
- Wash both faces of the break and dry them completely. Trapped water keeps the resin from gripping.
- Dry-fit the pieces first, with no adhesive, to learn the order. A three-piece break usually has one join that must close before the others.
- Build a cradle. Uncooked rice in a second bowl works well. So does dry sand, or two strips of masking tape pulled just taut. You want the pieces held, not clamped hard. Pressure pushes adhesive out and opens the seam.
- Lay the line last, when the surface is still tacky to a light touch.
Timings, honestly: a resin kit takes one evening of work plus a cure, often overnight. The urushi route, using lacquer from the sap of the Toxicodendron vernicifluum tree, runs several weeks, because each coat waits in a humid box before the next. That waiting is the method, not a delay.
Rough orders of magnitude, not our shop prices: a starter kit sits in the low tens of dollars, a weekend workshop in the low hundreds, and a piece given to a restorer for lacquer work can reach several hundred and up, depending on the number of fragments.
Four errors worth naming. Too much adhesive, which beads out and spreads the join. A line redrawn until it loses the break. Powder applied after the surface has gone dry, so it sits loose and rubs off. And any repair on a lip you will drink from.
Hand it over when fragments are missing, when the crack runs through a foot ring, when the body is thin porcelain, or when the object has to hold hot tea every morning. Those are restorer jobs.
Golden joinery at the table: using a mended bowl
A repaired bowl is meant to go back into the cupboard, not into a display case. But a mended piece does ask for slightly different handling than a new one.
Is a gold-mended bowl safe for food and tea?
Properly cured urushi has a long history of use on tableware in Japan, and a food-safe repair is possible when done with traditional materials and fully polymerised. Resin-kit repairs are generally not rated for food contact, so treat those pieces as decorative. Give any fresh repair time before you pour boiling water over the seam. I now keep mended pieces for cooled tea, rice and dry snacks, and pour very hot water into undamaged cups instead.
Washing a kintsugi piece by hand
Hand-wash only. Warm water, a soft cloth, no scouring pad. The dishwasher is the real enemy: sustained heat, strong detergent and pressurised jets all work against lacquer. Skip long soaks too, and dry the piece rather than leaving it wet.
Where a mended chawan sits in a tea moment
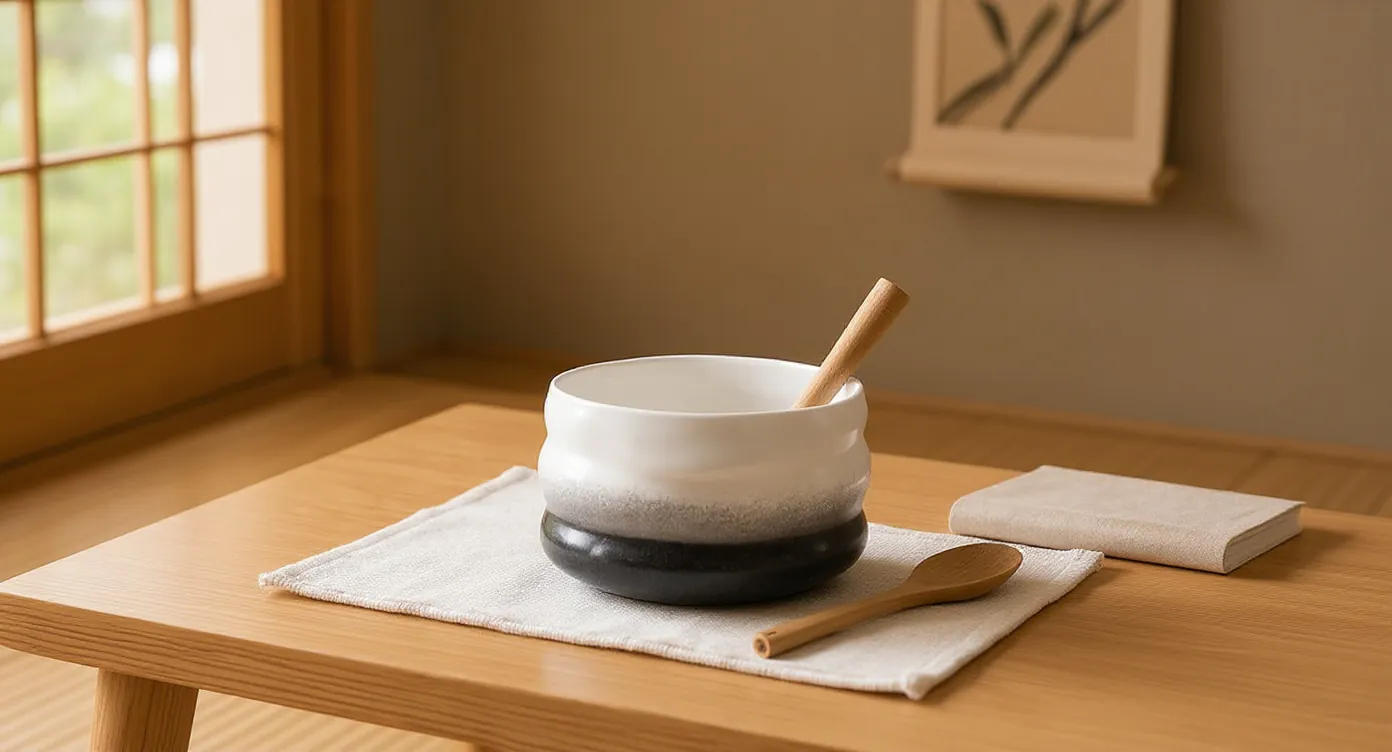
The chawan tea bowl is the piece most often mended, because it is the piece most often handled. You cradle it in both palms. You turn it before drinking. A gold seam under the thumb changes that moment quietly. If you want one bowl to whisk matcha in daily, I would start with a matcha bowl wide enough for a whisk, the one I reach for most because the flared wall lets the chasen move without scraping.
Gold seam or invisible fix? The other ways to mend a ceramic
Before choosing a method, decide one thing: should the repair be visible or should it disappear? Everything else follows from that answer.
Here are the options I have seen used, and what each one suits.
When you want the break to disappear
Professional invisible restoration. A conservator fills the loss, airbrushes pigment across the join, then matches the glaze sheen. Done well, you cannot find the crack at eighteen inches (46 cm). It is the costliest route, usually quoted per hour, and it makes sense on a decorative piece you value: a vase on a shelf, a plate on a stand. The fills and retouch paints are not food-safe and will not survive hot water, so the piece becomes display only.
Simple epoxy bonding. Two-part epoxy, clamped with low-tack tape, a thin line you can see if you look. This is the honest choice for a utility object where you only want function back: the lid of a storage jar, the foot ring of a planter. Quick, cheap, discreet. Not for anything that holds hot tea.
When you want the break to show
Urushi-tsugi. The same lacquer repair as kintsugi, finished in black or red with no metal dusted on top. Quieter. On a dark tenmoku glaze or a black-slipped bowl, the metal-free seam often reads better than gold, which can look pasted on.
Gintsugi. Silver instead of gold. It sits more comfortably on blue, grey and celadon glazes, where gold fights the cool tone. Silver tarnishes slightly over the years, so the line dulls toward grey. Some people wait for that.
Yobitsugi. The missing piece is replaced with a shard from a different ceramic, and the seam joins two patterns that were never meant to meet. Deliberate patchwork. Worth knowing about when a fragment is genuinely lost and no fill will bring it back.
Metal staple repair. Holes drilled either side of the crack, small metal cramps bridging it. This is the older technique mentioned in the origin story of kintsugi, when a shōgun's bowl came back from China stapled. It survives now mainly in conservation work and as a reference point.
What does not mend well
- Glass. Possible, but it is a separate trade with UV-cure adhesives, and the join stays visible because the material is transparent.
- Stoneware cracked by thermal shock. The body is stressed beyond the one line you can see. It tends to open again elsewhere.
- Pieces in many thin slivers. Below roughly a half inch (1.3 cm), fragments have too little edge to hold.
- Anything bound for the dishwasher. No repair method here survives that heat and detergent cycle.
The rule I use: if the object earns its place by working, bond it cheaply or let it go. If it earns its place by what it has been through, choose a seam you can see, and accept that it leaves the dishwasher behind.
Wabi-sabi and the mended bowl: the crack as history
The material story stops here and the way of seeing begins. Kintsugi makes sense inside a Japanese aesthetic that already values worn, uneven and aged surfaces. A line of gold is simply the clearest version of that idea. Hiding the break would mean pretending nothing happened to the object. Marking it keeps the record. The repair is not a disguise but a date stamp.

Wabi-sabi, mono no aware and an object that ages
Wabi-sabi finds beauty in asymmetry, modesty and visible time. Mono no aware, a sensitivity to the passing of things, sits alongside it. Both treat change as the point rather than the problem. If you want the longer version of that vocabulary, read the wabi-sabi guide I wrote earlier instead of taking the short summary here as complete.
What a kintsugi repair does not promise
A mended bowl does not bring luck, wealth or healing, and nobody in the craft claims it does. The practice is usually described as emerging in Japan around the tea ceremony and its culture of valued, long-lived utensils, in a period when a prized tea bowl was worth repairing rather than replacing.
Beyond kintsugi: ceramics that show their making
You do not have to break something to live with visible imperfection. Many new pieces are made so the process stays legible in the finished surface. That is the same relationship to flaw, arrived at from the other direction.
Kiln marks, uneven glaze and intentional irregularity
Look for pooling where glaze gathers thicker at the foot. Look for the faint ridges left by a potter's fingers on a thrown wall. Look for colour that shifts across one bowl, or small iron specks that bloom through the surface in the kiln. A bowl with uneven glaze already tells you how it was made, before you ever use it.
Choosing stoneware you will still use in ten years
Two things matter most: wall thickness and body type. Thicker walls survive the knocks of daily washing-up, and a coarser clay body hides small wear better than a flawless white surface.
One bowl, used daily, instead of a full matching set
Matching sets tend to sit unused in a cupboard. One good bowl gets handled every day, and that is where character accumulates. I collect mismatched pieces on purpose, choosing each one for a job rather than for a group. The Kobachi bowl I use for pickles and small sides is the piece I recommend most often as a first step: the glaze runs unevenly across it, so a future chip will read as more of the same rather than as damage.

Finding a mended piece, or having yours repaired
Three routes exist, and they lead to different places. You can send your broken piece to a restorer. You can buy a bowl someone else already mended. Or you can learn the gesture yourself in a workshop. None of them is quick, and only one of them ends with your own cup back on the shelf.
Having your own piece repaired
A restorer quotes from photographs. Send one of the whole piece against a plain background, then one of every break line, shot close and in daylight. Count the fragments and say the number. Flag any losses, the gaps where a chip is simply gone. Give height and diameter in inches and centimetres. The quote follows the running length of the cracks and the metal finish you pick, so a teacup with two clean halves costs far less than a plate in nine pieces.
Keep every fragment. Even the ones the size of a grain of rice. Put them in a rigid box, each piece wrapped separately, not in a plastic bag where they grind their own edges smooth in transit. I lost the lip of a small dish that way and the restorer had to fill the gap instead of rejoining it.
Do not clean the broken edges. No solvent, no soapy water. Both carry dust and residue into the porous body of the clay and change how the base layer grips. And never attempt a temporary glue, not even to see how it looks. Cyanoacrylate soaks into the break face and has to be cut back before any proper work can start.
Buying a piece already mended
Read the listing, then ask what it leaves out. Is the finish real gold powder, silver powder, or a brass or mica imitation? Is the base urushi, the lacquer tapped from the Toxicodendron vernicifluum tree, or a modern resin? Does the seller state the piece as food-safe or decorative only? The word kintsugi on a label guarantees neither gold nor lacquer. It describes an intention, not a material.
Learning the gesture
Introductory workshops run in Tokyo and Kyoto, often a half day with a fast synthetic method, so you leave with a finished bowl. Longer courses follow the urushi route across several sessions, because each layer needs days to cure.
On our side: JDH curates Japanese-inspired decor and ceramics whose surfaces show their shaping. We do not offer in-house repair. Shipping is free worldwide, returns run 30 days, and our team answers Monday to Friday, 10:00 to 17:00 (GMT-7). Handling estimates 3 to 5 business days, transit 3 to 6.
Where to place a mended bowl in a quiet room
Put it against a plain background, at seated eye level, in low side light. That is the short answer. A gold seam is a thin line, maybe 2 to 3 mm wide. It only reads when nothing competes with it.
Work in three steps, in this order: background, then height, then light.
Background first
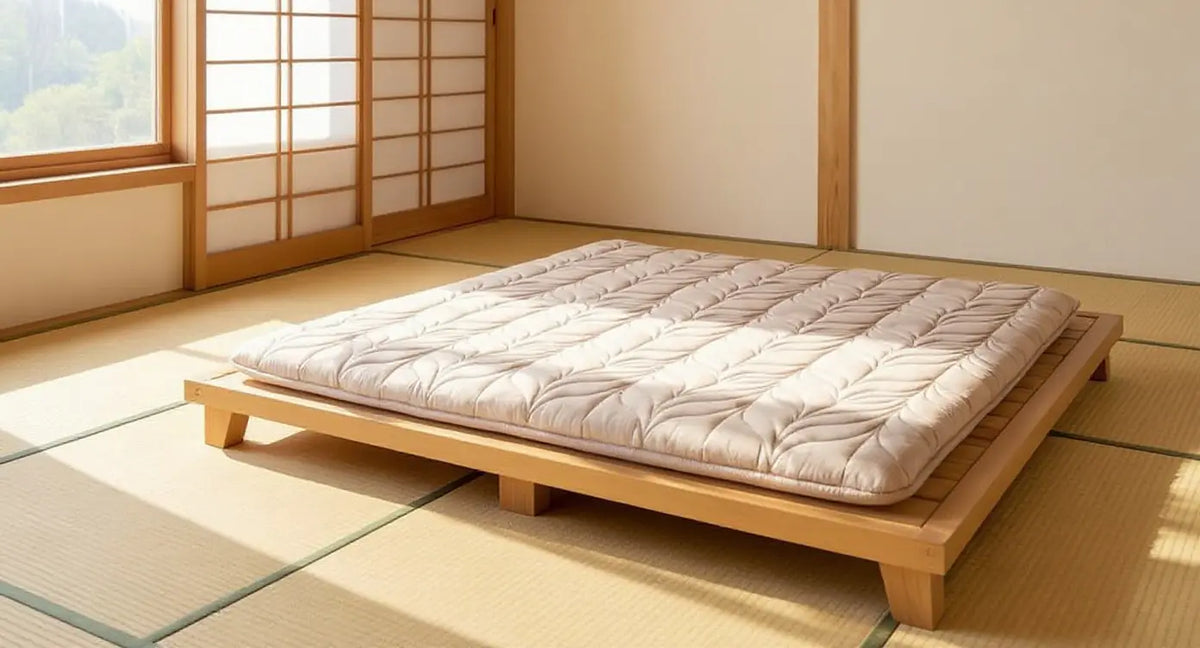
Plaster wall, unbleached linen, or a sheet of washi, the soft mulberry-fibre paper used in lamps and screens. No pattern behind the piece. A printed cushion or a gallery wall will swallow the repair. If your wall is busy, stand the bowl on a wood tray or a small mat of igusa, the rush straw woven into tatami. The matte grain acts as a backdrop from below, and the metal lifts off it.
Then height
A tokonoma is the shallow alcove set aside for one object, sometimes with a kakejiku, a hanging scroll, above it. If you have one, or a recess that behaves like one, the bowl goes alone and faces forward. Aim for roughly 12 to 16 inches (30 to 40 cm) off the floor, which is seated eye level on a zabuton cushion.
No alcove? An open shelf works, with empty space on both sides, at least a hand's width. A chabudai, the low table you sit at, is the other good spot: the bowl stays within reach, seen from above and slightly to the side. Skip the tall console. From four feet up, you look at the rim and lose the seam entirely.
Then light
Gold powder wakes up in low, raking light. A lamp with a washi shade placed off to one side, or a band of late afternoon sun across the floor, traces the whole crack. A downlight or a spot aimed straight at it flattens the line into a dull smudge. Glow rather than glare.
Two practical limits: keep it out of constant direct sun, and off a damp windowsill where condensation pools.
One mended piece per sightline. Not a row of them. The emptiness around it is doing work, which is ma, the interval that lets a composition breathe.
When you store it, set it on felt or folded cotton. Do not stack it, and do not wedge it against another bowl.
FAQ
A mended bowl brings questions. Below are the ones I hear most often, with answers grounded in how the work is done and how people live with a mended piece.
Is a kintsugi repair food safe?
A traditional repair using urushi lacquer, fully cured, is widely used on tableware in Japan. Resin-based kit repairs are usually not rated for food contact, so keep those pieces decorative. With any mended piece, avoid very hot liquids directly over a fresh seam, and hand-wash it.
Is real gold used in kintsugi?
Fine gold powder is the traditional material, which is part of why the work is costly. Silver and brass powders are common alternatives. Many inexpensive kits use mica or brass-toned pigment instead of metal.
How long does a kintsugi repair take?
Weeks to months, depending on the number of fragments and coats. Lacquer cures slowly in a humid cabinet, and each layer has to set before the next goes on. A simple two-piece break is faster than a bowl in many fragments with missing chips.
Can any broken ceramic be fixed with kintsugi?
Most clean breaks can be mended, but thick stoneware is far more cooperative than thin glazed porcelain. Shattered pieces and crumbled edges make the work harder, though a lost piece can sometimes be replaced with a shard from another bowl.
If you want ceramics that will age the way a mended bowl does, our Japanese tableware collection is a good place to start looking. Choose one piece you will actually use, and let it gather its own marks.
Explore the Japanese Tableware collection
Browse the Japanese tableware collection for stoneware bowls, cups and serving pieces whose glaze and kiln marks are left visible.
Browse the collection →